How to Migrate Shopify Products to WordPress
A screenshot-by-screenshot walkthrough of migrating a Shopify product catalog into WordPress and WooCommerce using Migration Master.
By - Migration Master Editorial Team
Know your destination before you export
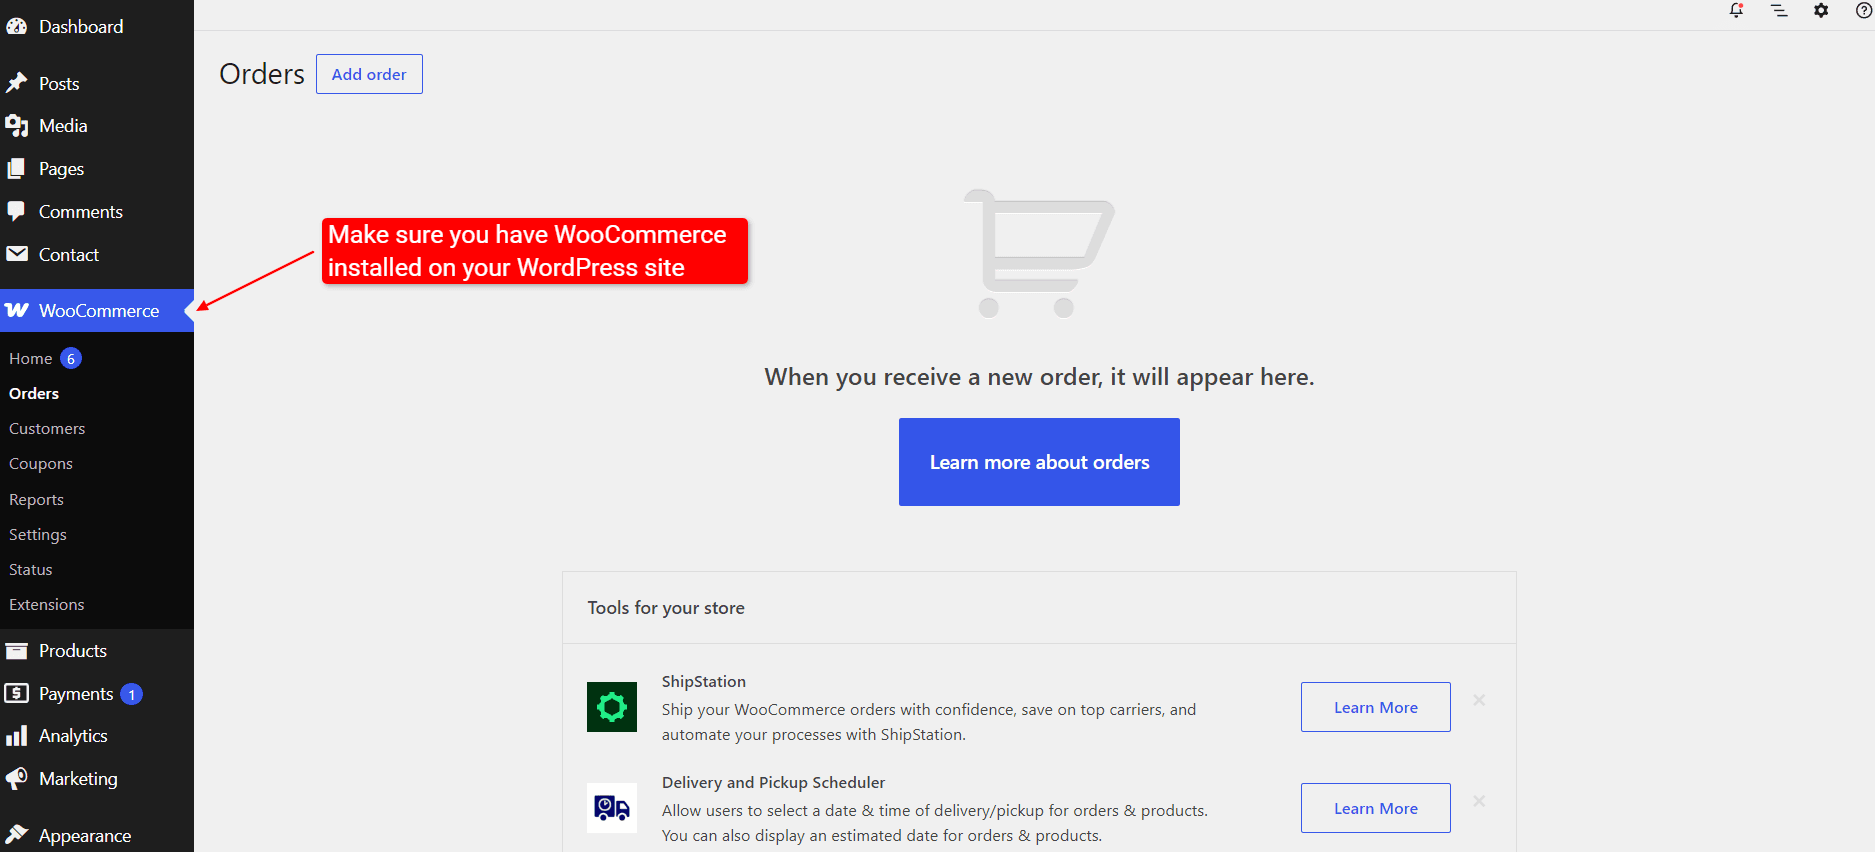
Before touching Shopify, it's worth glancing at the WordPress site you're migrating into. In this example, the destination is a staging WooCommerce site that's mid-setup — you can see WooCommerce's own “Step 1 of 6” setup checklist still showing, plus site stats like published posts and pages.
The main things to check here:
- WooCommerce is active (Products, Payments, and Analytics menu items appear in the sidebar once it is).
- The Site Health panel isn't flagging anything that would block imports.
- You know which user account new imported content should be attributed to.
Connect your Shopify store in Migration Master
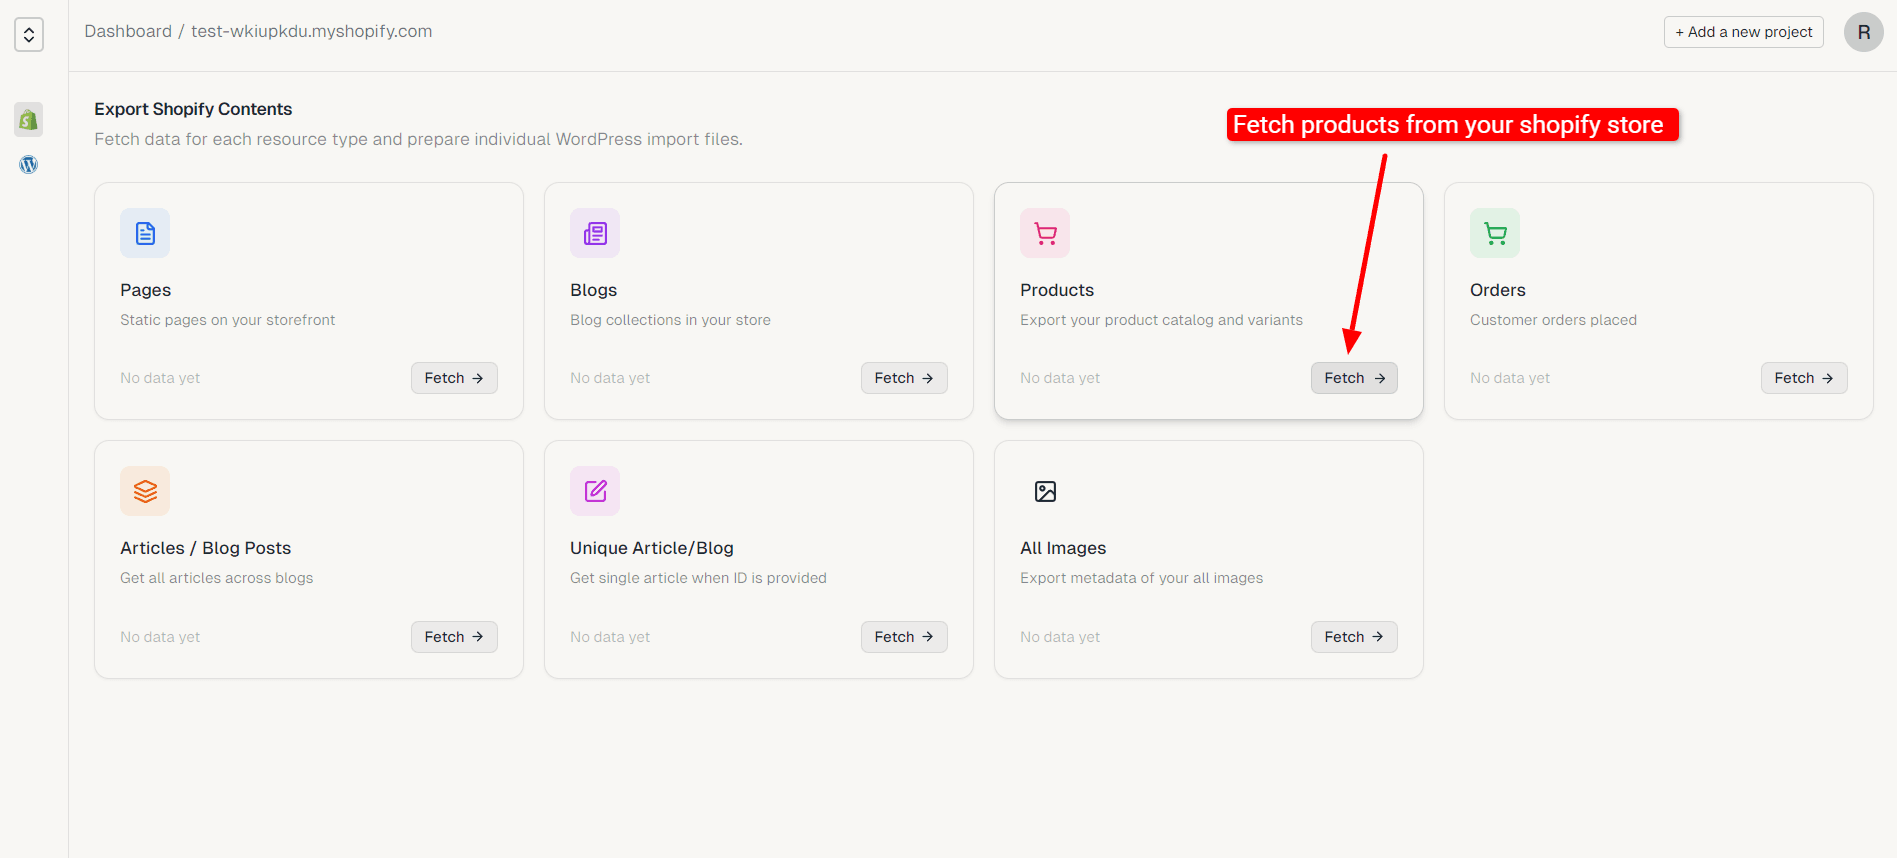
Head to migrationmaster.online and add your store as a project. (You can read more on how to connect your shopify store with Migration Master). Once the connection process is complete, select the project and you will land on the Export Shopify Contents dashboard.
For a product migration, click Fetch on the Products card.
Review the export manifest and pick what to bring over
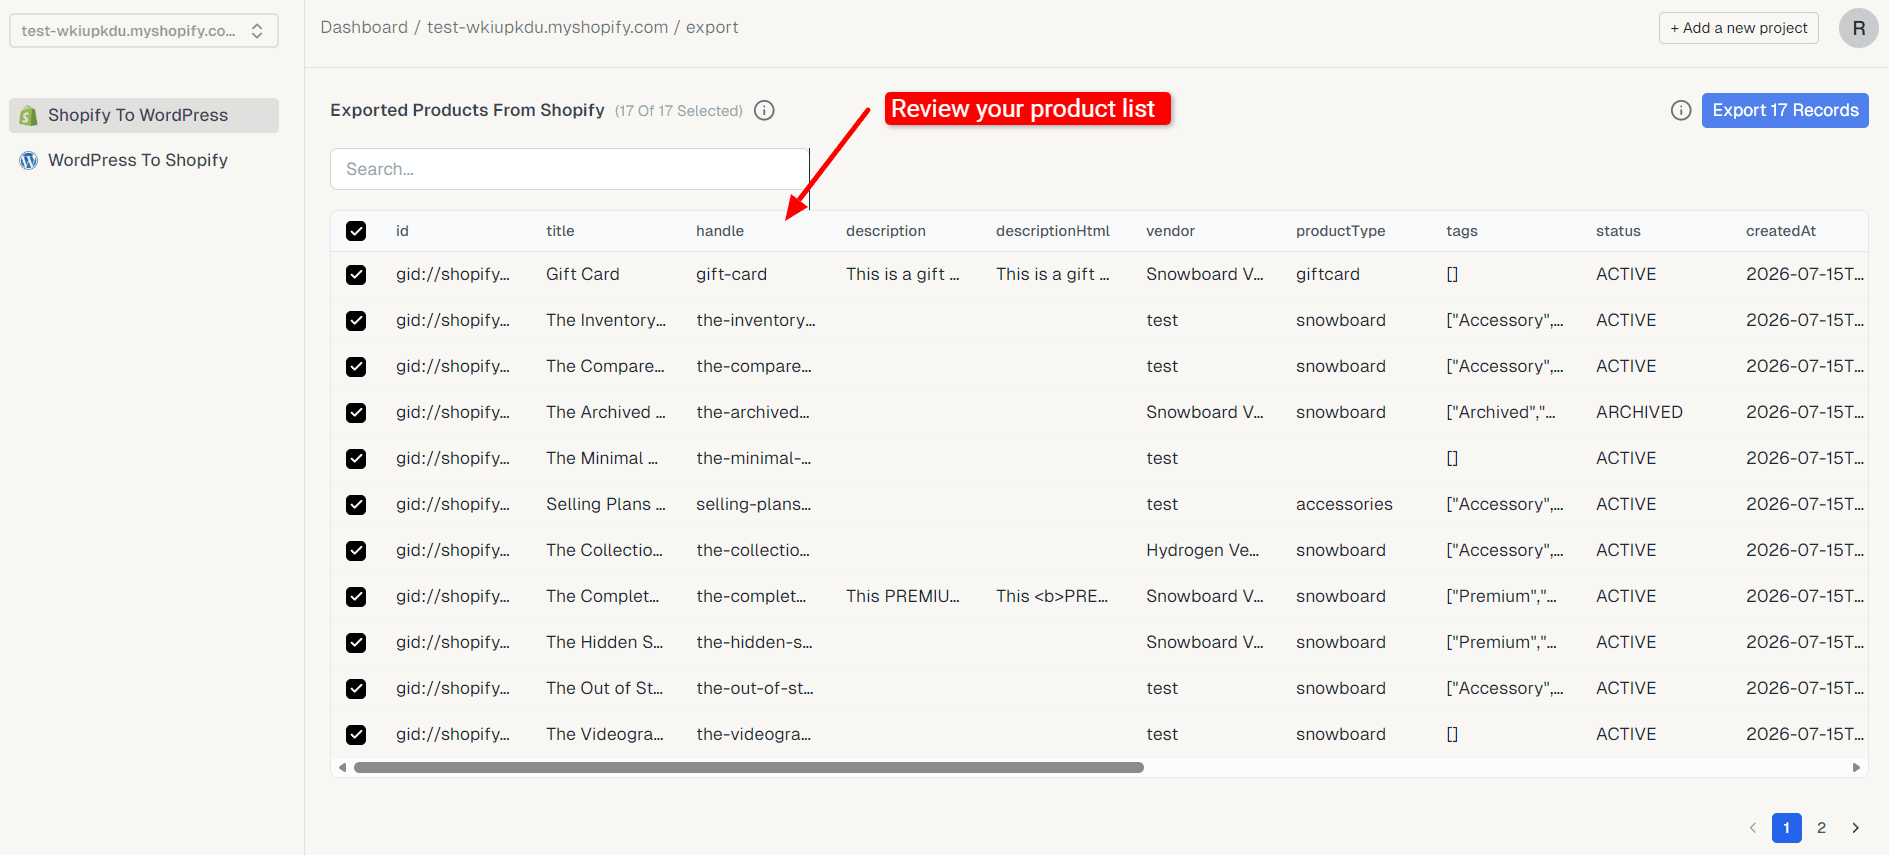
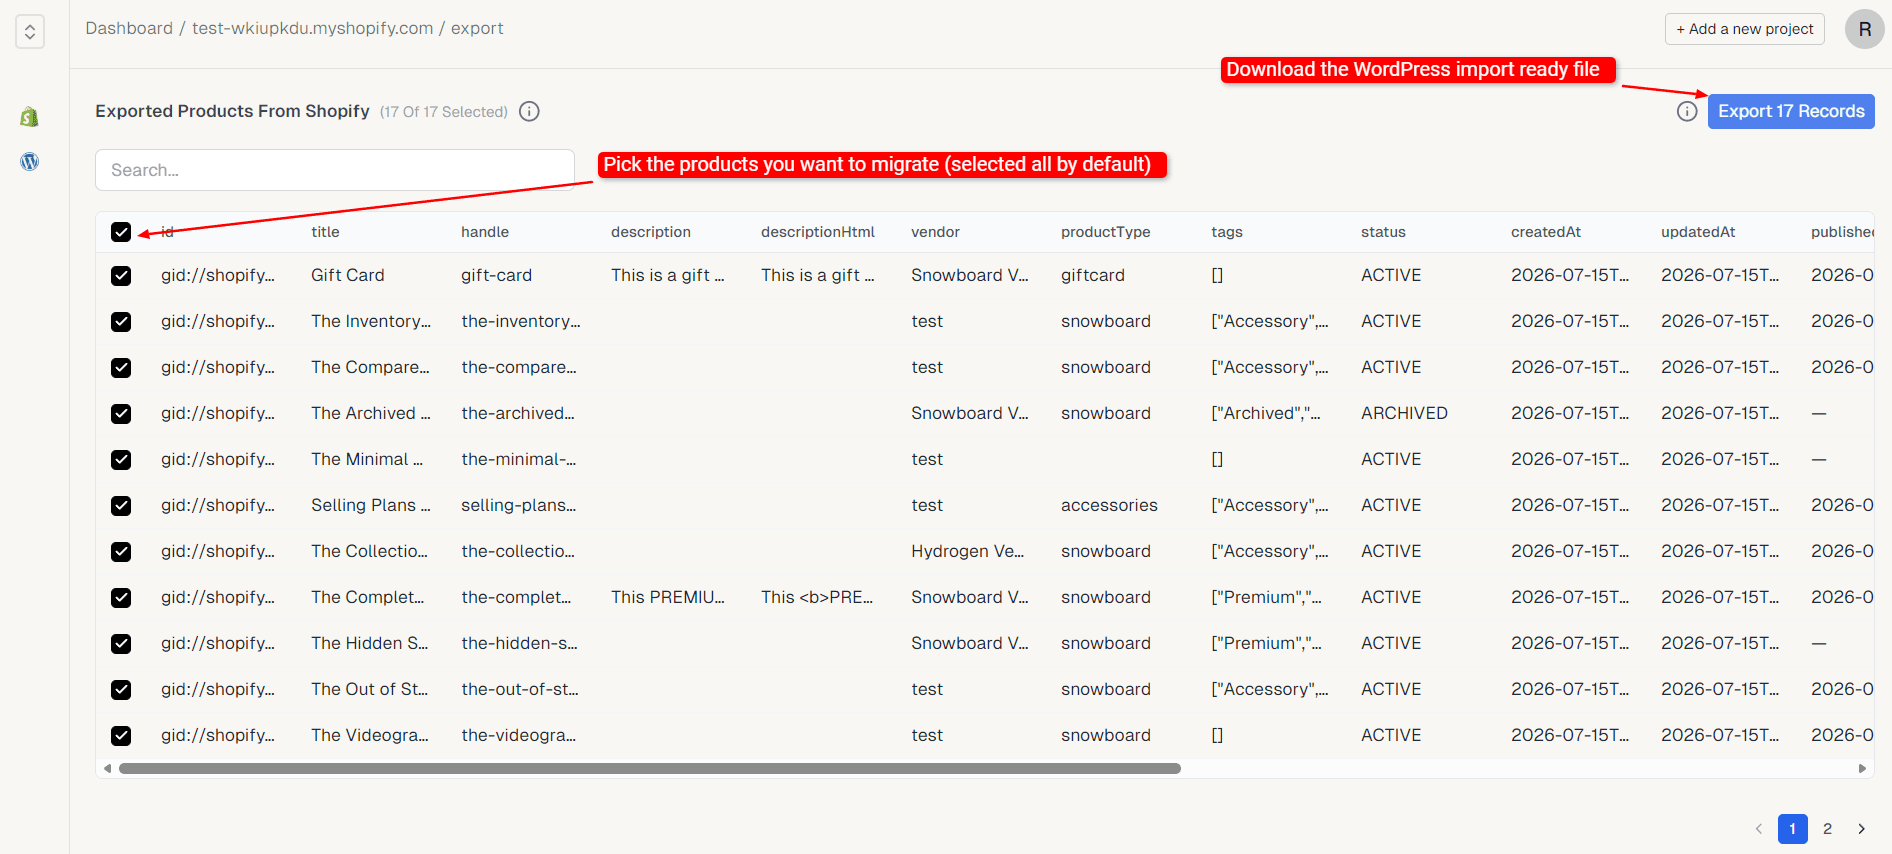
Migration Master shows every product it found in a searchable, sortable table. Uncheck anything you don't want migrated, then click Export [n] Records.
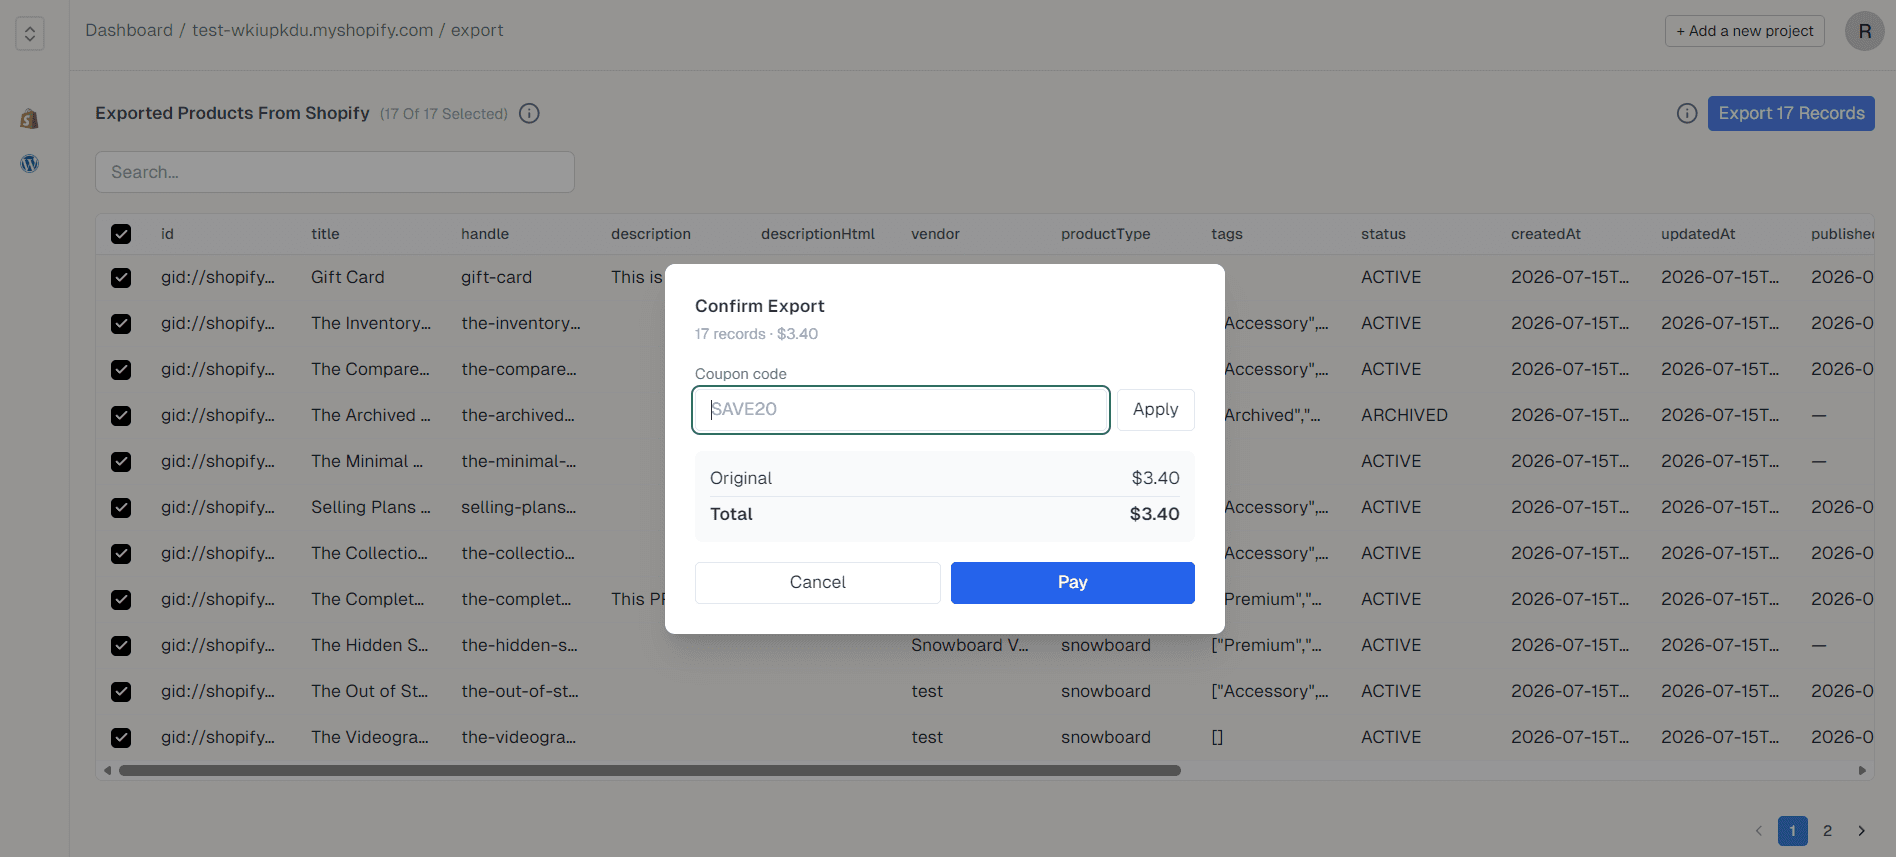
Confirm the export
Confirm and pay to generate the package. Behind the scenes, the tool builds a WordPress eXtended RSS (WXR) file — the format WordPress's native importer expects.
Download the package
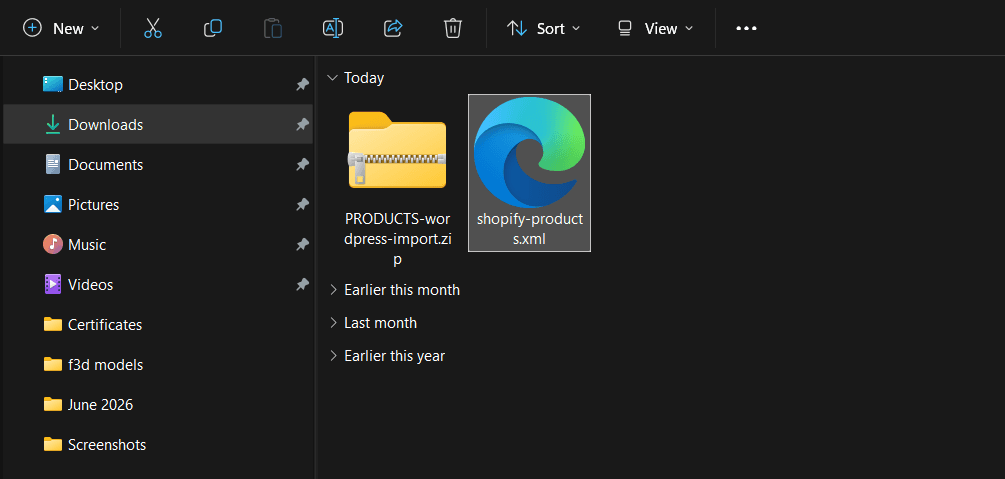
Extract the downloaded .zip — inside you'll find one or more .xml files ready to hand to WordPress.
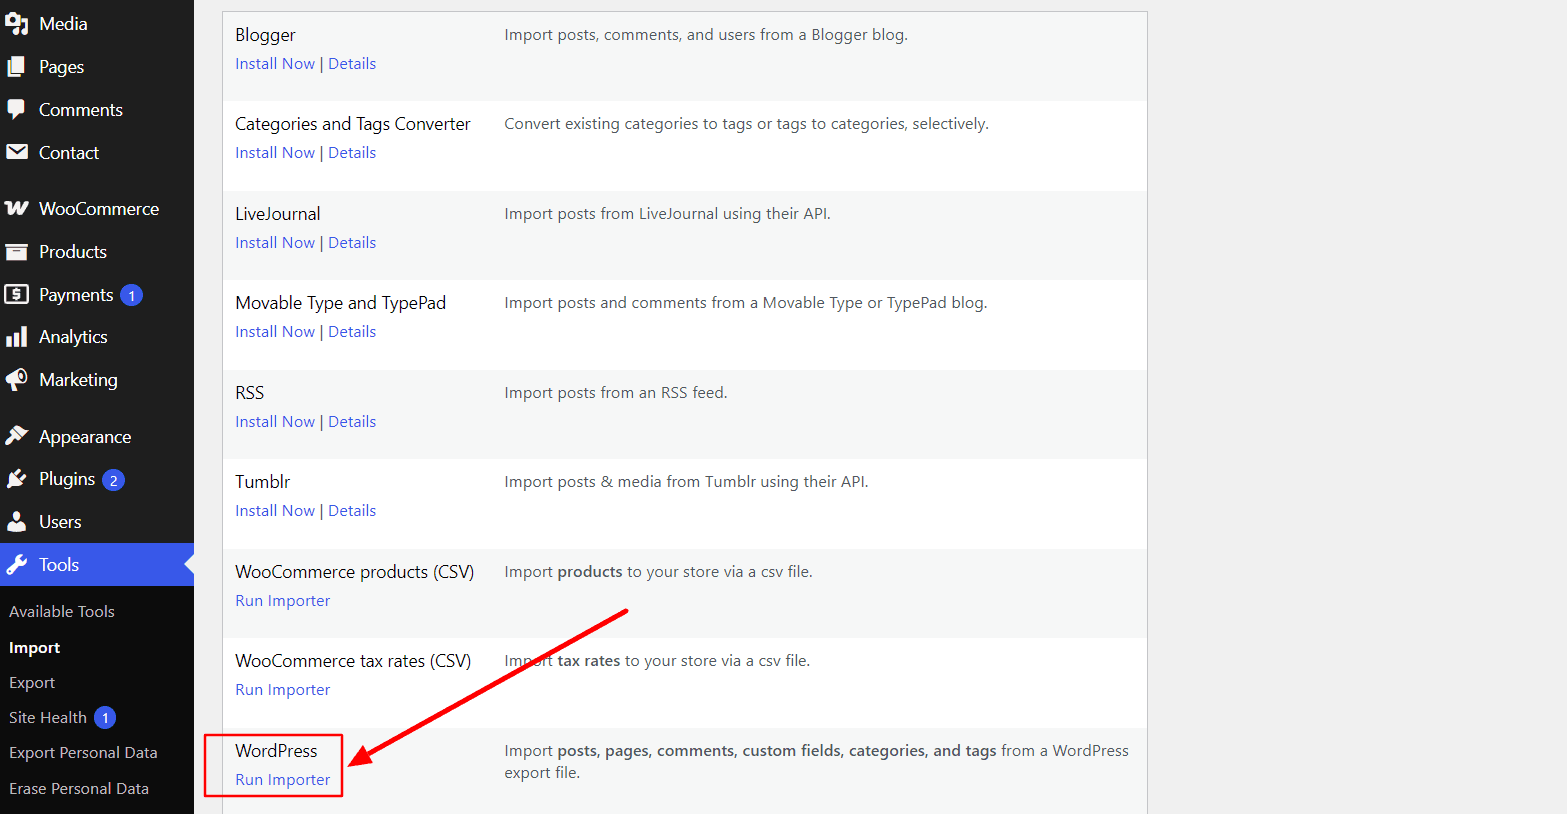
Go to WordPress → Tools → Import
Skip WooCommerce products (CSV) — use WordPress instead, which reads the WXR file.
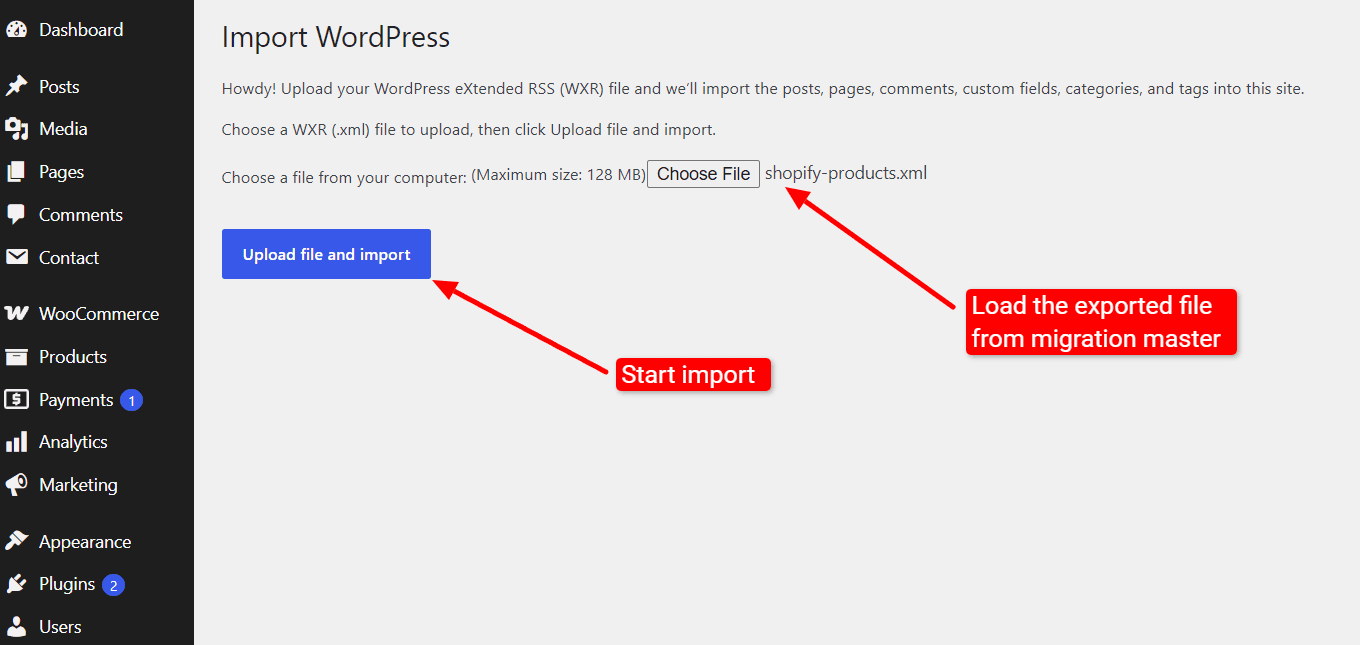
Upload the WXR file
Choose the .xml file, then click Upload file and import.
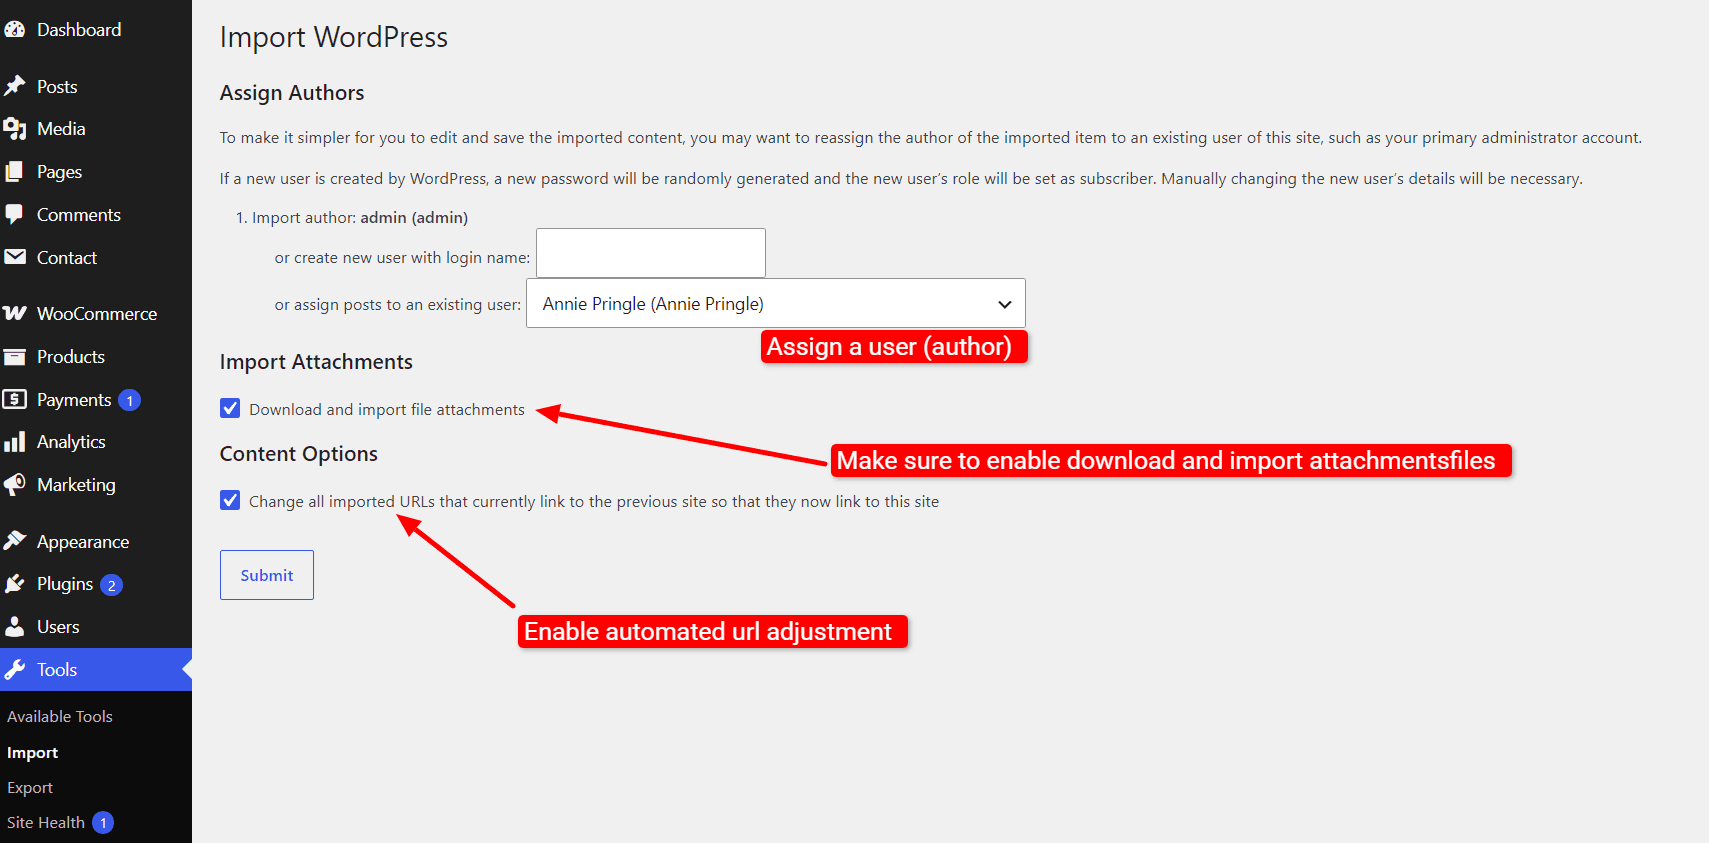
Assign authors and import settings
Assign an author, enable Download and import file attachments, and leave URL rewriting checked. Then Submit.
(Optional) Refine and re-export
Go back to Migration Master, adjust your selection, and re-export just the records you need.
Verify in WordPress
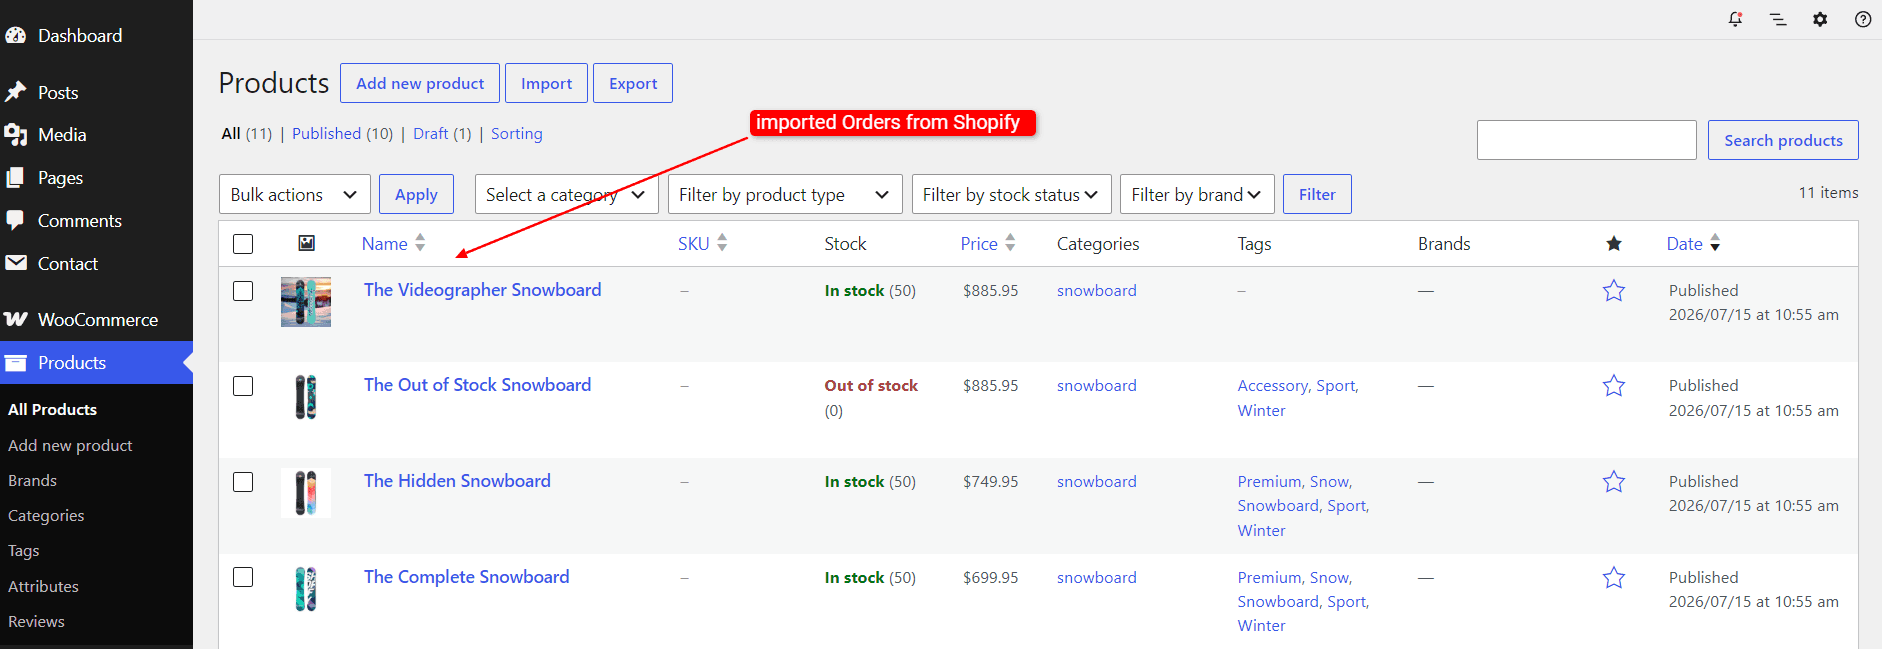
Head to Products → All Products and spot-check images, prices, stock, and categories.